Master the Art: Tabla Playing Tips for Beginners That Truly Work
Are you fascinated by the rhythmic beats of the tabla but unsure how to begin your musical journey? Whether you’re a child or an adult, starting an instrument like the tabla can seem daunting. Fortunately, it’s never too late—or too early—to pick up this classical Indian percussion instrument. With proper guidance, clear instructions, and consistent practice, anyone can learn the tabla.
This guide breaks down the most effective beginner tips on how to play the tabla, helping you form a solid foundation and build rhythm confidently. Let’s dive in!
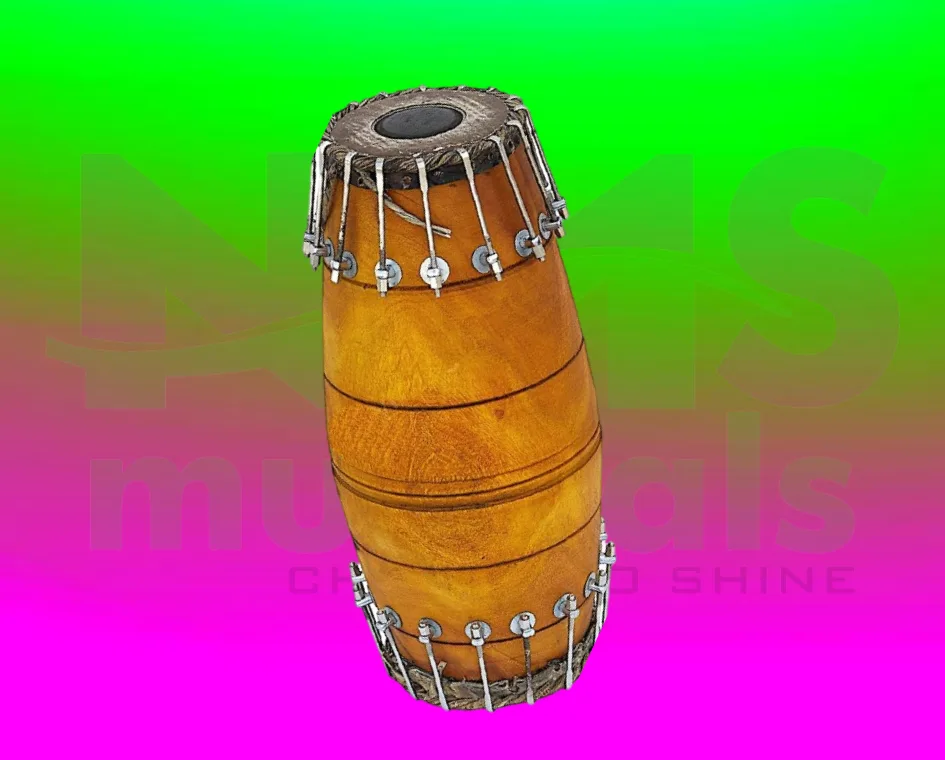
1. Understand the Anatomy of the Tabla
Before you begin playing, it’s essential to understand the instrument.
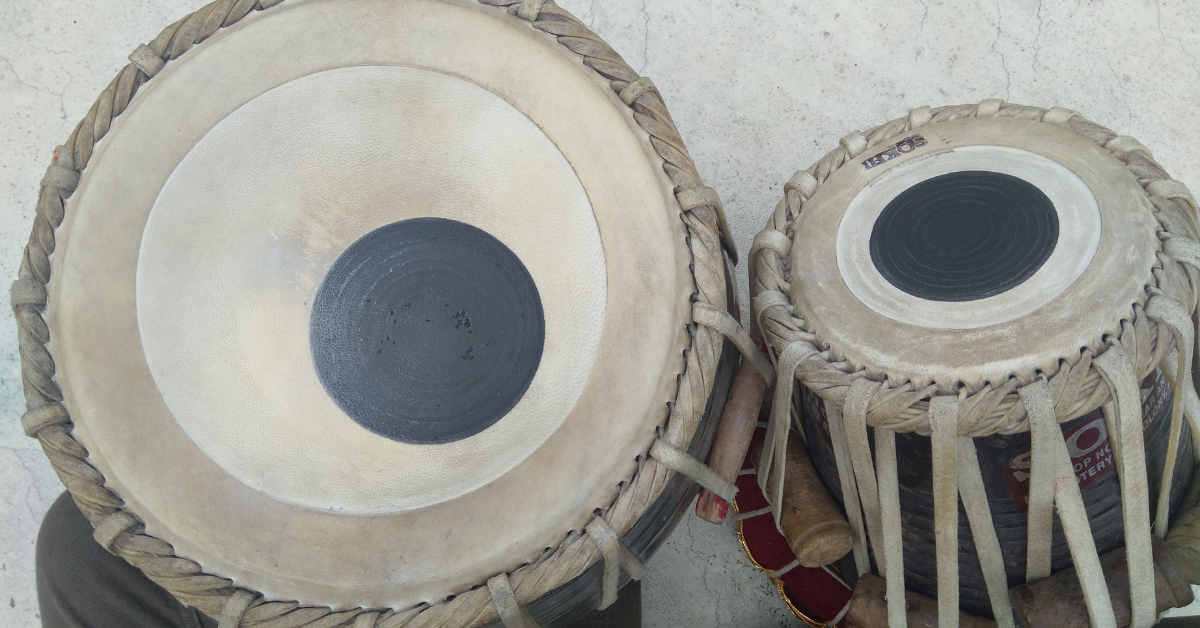
- Tabla is made up of two drums: the smaller dayan (right drum, made of wood) and the larger bayan (left drum, usually metal or clay).
- The black center spot on both drums, called the syahi, helps produce the tonal clarity tabla is known for.
- Each part of the drum contributes to unique sounds and should be handled with care.
Familiarizing yourself with these elements ensures you respect the instrument while also using it correctly.
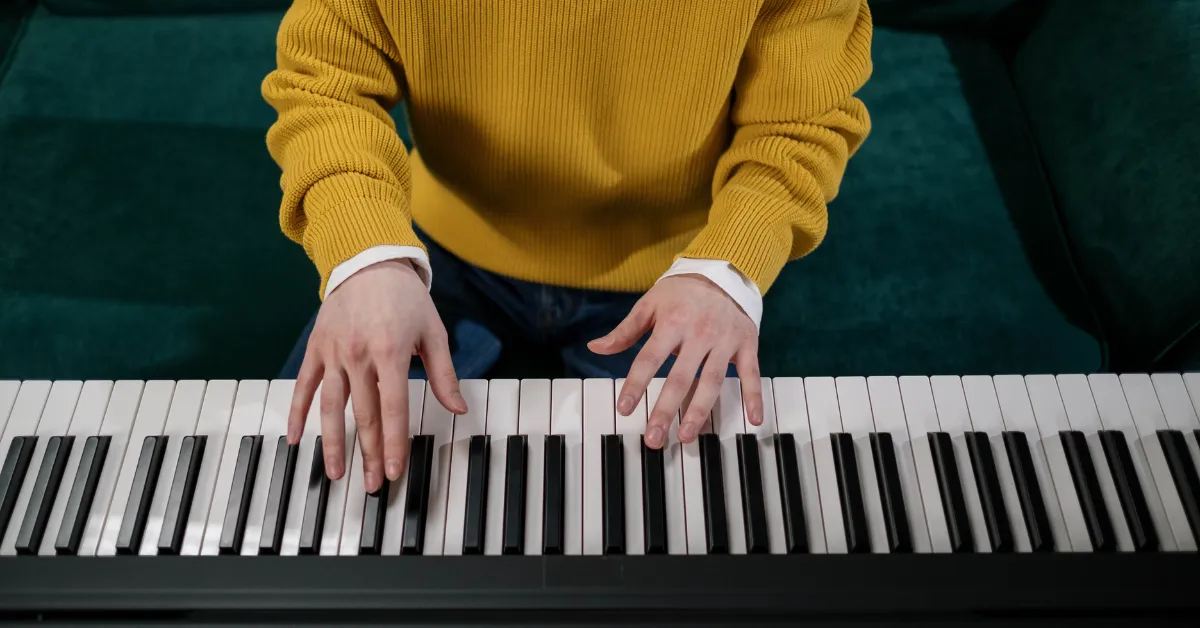
2. Learn Proper Posture and Hand Positioning
The way you sit and position your hands affects your comfort and performance.
- Sit cross-legged on the floor or use a tabla stand if needed.
- Keep your back straight and shoulders relaxed.
- Your fingers should be curved and relaxed, striking with fingertips or palm, depending on the stroke.
Practicing proper posture from the beginning prevents strain and helps with longer practice sessions.
3. Start with Basic Tabla Bols (Syllables)
Tabla is unique in its vocalization of rhythms through bols (syllables), such as:
- Na, Ta, Tin, Dha, Dhin, Ge, Ke, Tun
Each bol corresponds to a stroke. Practicing them vocally helps in remembering rhythm patterns and improving playing technique.
Start slow and gradually speed up only when you are confident with clarity.
4. Practice Simple Taal Patterns
Taal refers to rhythm cycles in Indian classical music. Beginners typically start with:
- Teentaal (16 beats)
- Keharwa (8 beats)
- Dadra (6 beats)
Learning how to count and play within these taals will give structure to your practice. Use claps and finger movements to understand the beat cycles before applying them to the tabla.
5. Use a Metronome or Lehra App
Timing is critical in tabla. Beginners often struggle to maintain consistent tempo.
- Use a metronome or lehra app (background melody) to stay on beat.
- Practice slowly at first (around 60-80 BPM) and increase gradually.
These tools are excellent for improving rhythm discipline and avoiding common timing mistakes.
6. Watch Videos and Follow a Teacher (Online or Offline)
While self-learning is possible, having guidance makes a huge difference.
- YouTube channels dedicated to tabla lessons offer free content for beginners.
- Consider enrolling in an online tabla class or finding a local tabla teacher.
Observing hand movements, stroke techniques, and posture in videos helps you visually understand concepts you read about.
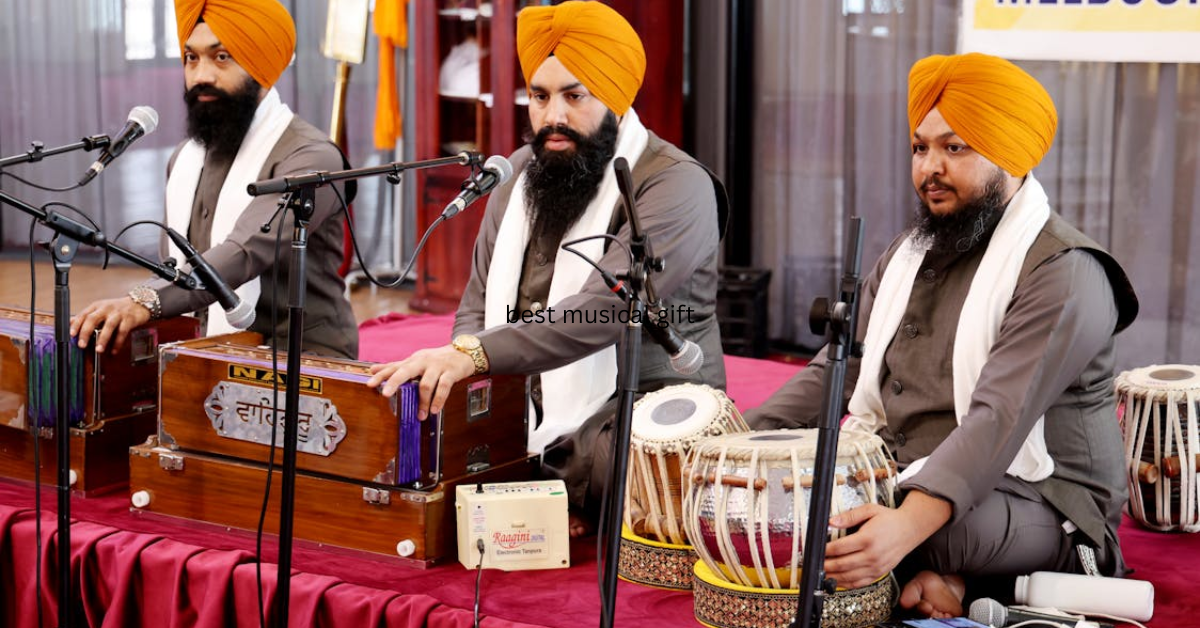
7. Maintain and Tune Your Tabla Regularly
Tabla maintenance is key to producing the best sound:
- Keep the tabla covered when not in use.
- Avoid moisture or extreme heat exposure.
- Learn to tune the dayan using a hammer for perfect pitch.
Regular tuning and care keep your instrument performance-ready and durable.
8. Develop a Daily Practice Routine
Consistency builds mastery. Create a schedule that includes:
- 5–10 minutes vocal practice of bols
- 15–30 minutes of stroke drills
- 10–20 minutes playing with metronome or lehra
- Time for listening to tabla solos or classical music
Break your practice into sessions if needed. The key is repetition and improvement.
9. Record and Review Your Practice
Recording yourself helps you spot mistakes you might miss while playing.
- Use your phone or a basic audio app.
- Listen for stroke clarity, rhythm accuracy, and sound quality.
Reviewing recordings boosts self-awareness and motivates improvement.
10. Learn Basic Compositions (Kaidas, Tukas, Relas)
As you progress, explore basic compositions like:
- Kaida – a structured composition with variations
- Tukda – short compositions used in performances
- Rela – fast-paced rhythmic patterns
These help improve speed, creativity, and expression in your playing.
11. Practice with Other Musicians
Once you’re confident with basic rhythms, playing with others can enhance your musicality.
- Join a music school or group
- Collaborate with harmonium or sitar players
- Attend jam sessions or classical concerts
Interacting with other musicians expands your rhythm understanding and performance confidence.
12. Be Patient and Embrace the Learning Journey
Mastering tabla is not a race. Like any musical journey, it requires time, passion, and dedication.
- Don’t get discouraged by mistakes.
- Celebrate small wins like perfecting a stroke or learning a new taal.
- Stay inspired by listening to tabla maestros like Zakir Hussain or Anindo Chatterjee.
Learning tabla should be joyful, not stressful.
Conclusion
The tabla is more than just a percussion instrument—it’s a form of expression, culture, and rhythmic brilliance. By following these beginner tips on how to play the tabla, you’re not only learning an instrument but also embracing a centuries-old musical tradition. Whether you’re learning to play as a hobby or aiming for stage performance, consistent practice and curiosity will take you far.
Take your time, enjoy the rhythm, and soon enough, you’ll find yourself playing the tabla with skill and confidence. Start your journey today and discover the joy this iconic instrument brings into your life.
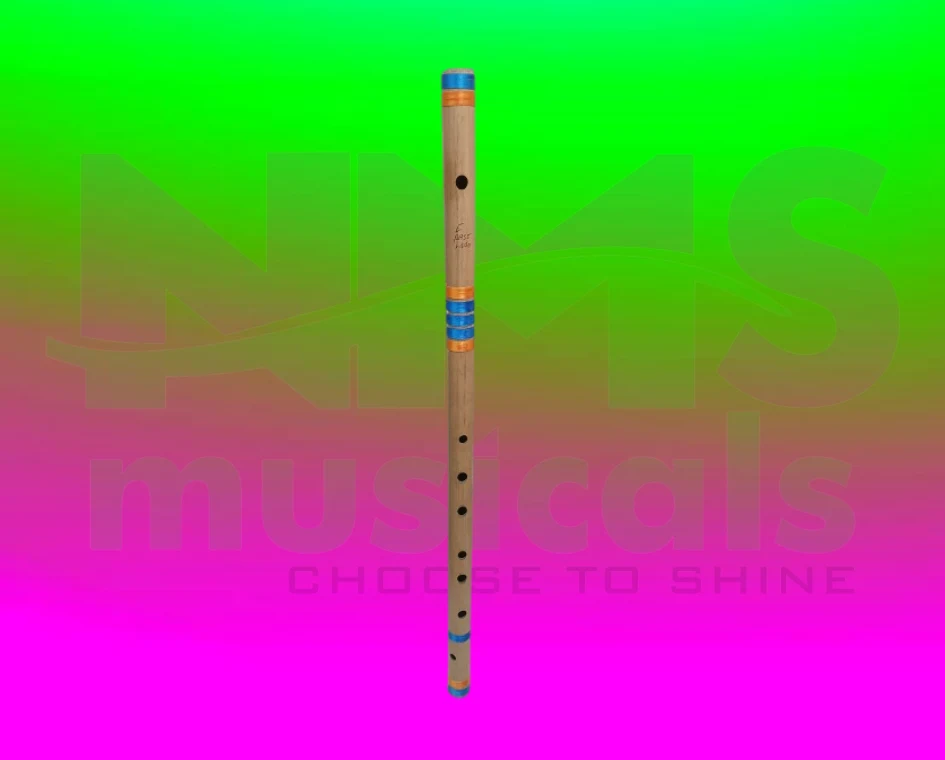
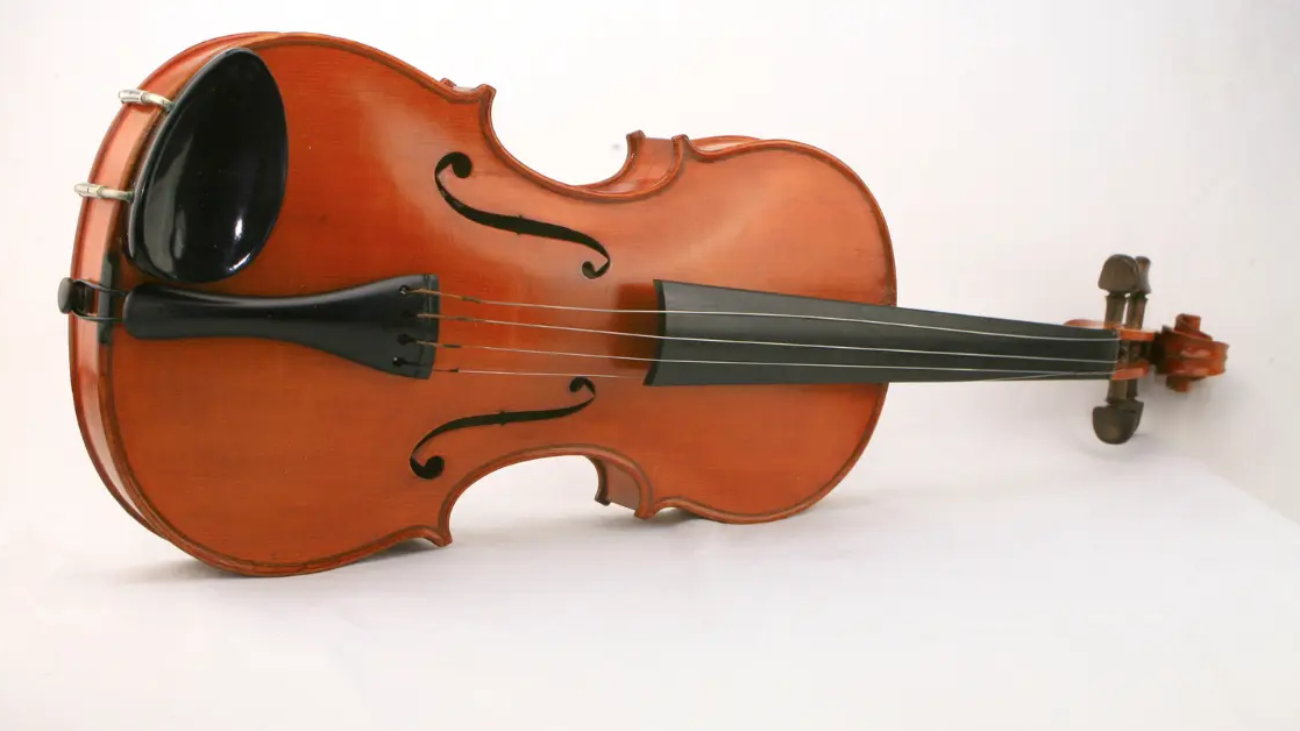
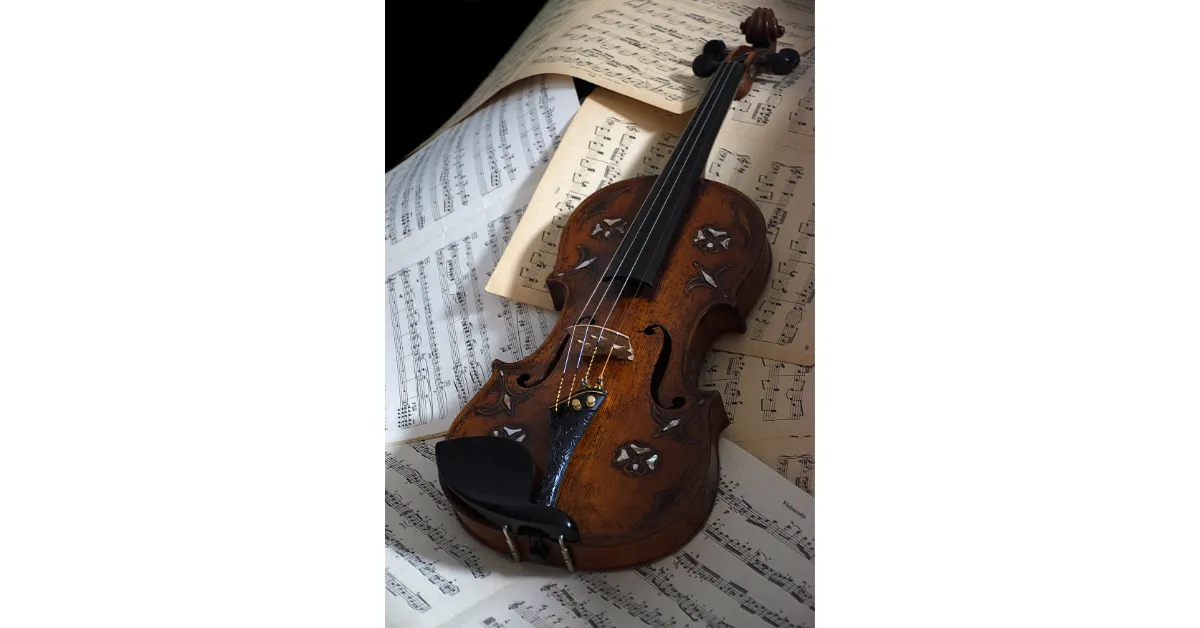
At NMS Musicals, we offer a comprehensive range of musical instruments, including percussion, string, wind, and keyboard instruments. Our services encompass sales, expert servicing, and the manufacture of leather instruments. Explore our diverse collection and find the perfect instrument to suit your musical needs.
Visit our website to browse our offerings: nmsmusicals.in
For a closer look at our products, check out our shop page: nmsmusicals.in/shop
Stay connected with us through our social media channels:
- Facebook: https://www.facebook.com/nmsmusicalinstruments/
- Instagram: https://www.instagram.com/nmsmusicals/?hl=en
- YouTube: youtube.com/@nmsmusicals
Our shop locations are:
- Puducherry: 149, Perumal Koil Street, Heritage Town, Puducherry, 605001.
Map Link: https://maps.app.goo.gl/ejDwBBFEJmd3szxk7 - Chennai: No: 1, 1st Floor, Kandigai Street, TVS Nagar, Korattur, Chennai – 600076.
Map Link: https://maps.app.goo.gl/7oXmB6X7KQsqeuuw9
For inquiries, contact/Whatsapp us at 9500663895 or email us at laxman.m89@gmail.com.
Discover the world of musical instruments with NMS Musicals today!
For a visual overview of our percussion instruments, watch the following video: